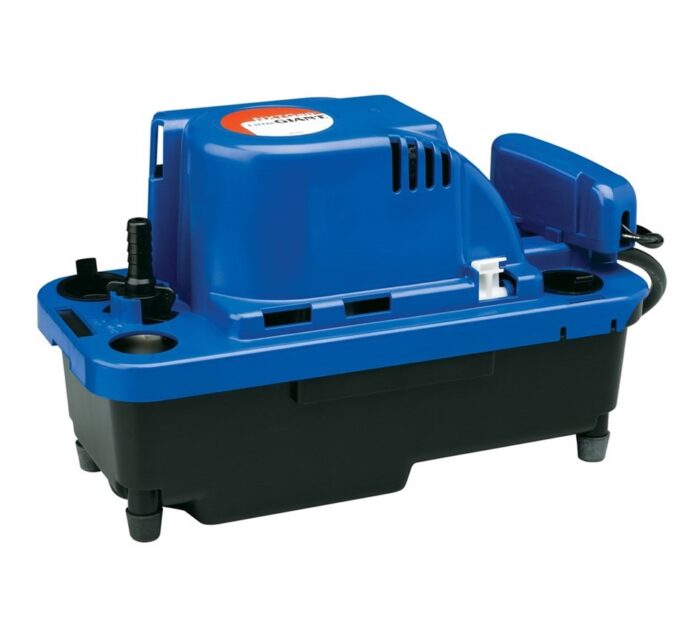
Little Giant pumps are renowned for their reliability and efficiency in various applications, from residential to commercial settings. Proper maintenance is key to prolonging the life of these pumps and ensuring they operate smoothly.
Cleaning your Little Giant pump is a crucial part of this maintenance. This guide will walk you through the essential steps to clean your pump effectively, ensuring it continues to function at its best.
Understanding the Importance of Regular Cleaning
Regular cleaning of your Little Giant pumps is not just about maintaining their appearance; it’s about performance and longevity. Dirt, debris, and other contaminants can accumulate over time, potentially clogging the pump and reducing its efficiency. This can lead to increased energy consumption and, in worst-case scenarios, complete failure.
A clean pump is a happy pump. By removing build-ups that can cause overheating or blockages, you ensure that your Little Giant pump operates within its optimal parameters. This not only maintains the efficiency but also extends its lifespan, saving you money and hassle in the long run.
Step-by-Step Cleaning Guide
Before you start, ensure the pump is disconnected from the power supply to prevent any accidents.
Gather all necessary cleaning supplies, such as a soft brush, cloth, mild detergent, and clean water. Wearing gloves is also advisable to protect your hands during the cleaning process.
Cleaning the Exterior
Begin with the exterior. Use a soft brush to gently remove any loose dirt or debris. For more stubborn grime, dampen a cloth with a solution of mild detergent and water, and wipe the surface clean. Avoid using harsh chemicals or abrasive materials that could damage the surface.
Cleaning the Interior Components
The interior components require more attention. Detach any removable parts according to the manufacturer’s instructions. Use a soft brush to dislodge any debris inside the pump.
For the impeller and other delicate parts, use a gentle touch to avoid damage. Rinse all parts with clean water and ensure they are thoroughly dry before reassembling the pump.
Ensuring Optimal Function Post-Cleaning
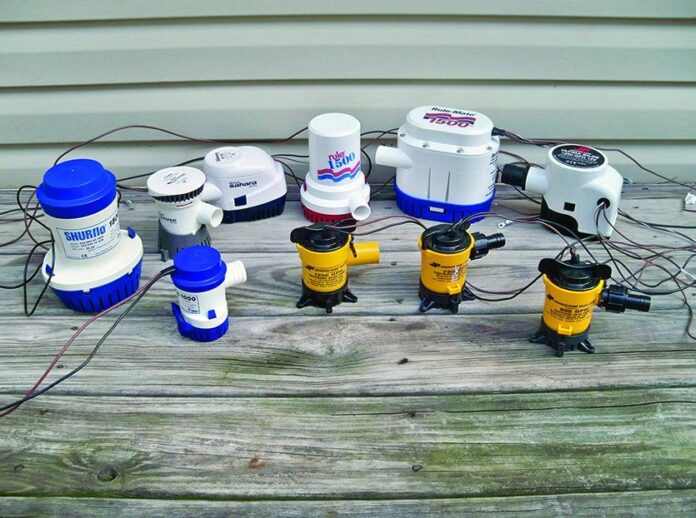
Once all components are clean and dry, reassemble the pump carefully, following the manufacturer’s guidelines. Reconnect the power supply and run the pump to test its functionality. Listen for any unusual noises and check for leaks, addressing any issues promptly to ensure the pump operates smoothly.
To keep your Little Giant pump in top condition, incorporate regular cleaning into your maintenance routine. Check the manufacturer’s recommendations for specific maintenance schedules and adhere to them. Also, consider the environment in which the pump operates; pumps in dirtier environments may require more frequent cleaning.
While regular cleaning is something you can do, some aspects of pump maintenance might require professional attention. Annual servicing by a qualified technician can help identify potential issues before they become major problems, ensuring your pump continues to operate efficiently for years to come.
Conclusion
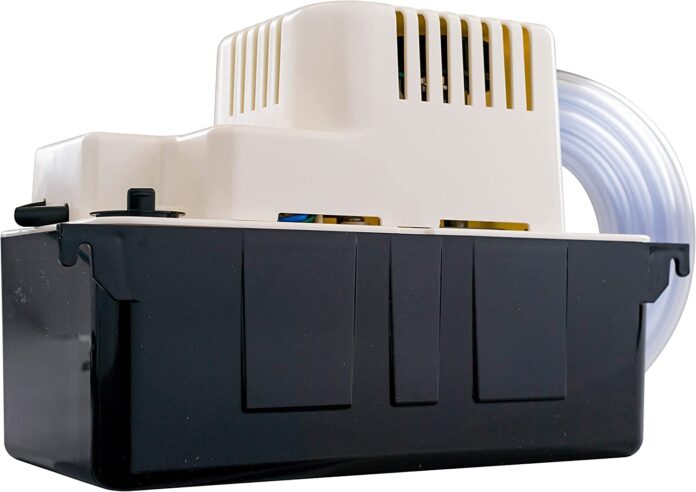
In conclusion, cleaning your Little Giant pump is a straightforward but vital task that plays a significant role in its performance and durability.
By following this guide, you can ensure your pump remains a reliable component of your water management system, providing peace of mind and efficient operation.


