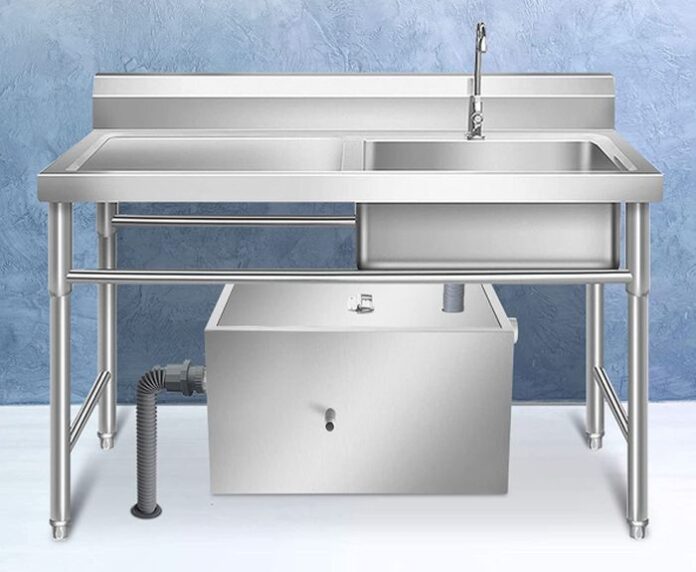
First of all, kudos to you for being a wise and responsible homeowner and owning a grease trap. It’s little things like these that make all the difference in your home.
The sad thing is, the reward for your thoughtfulness and responsibility is semi-hard but really dirty and smelly work that you can’t really avoid. Well, you could, but that would involve paying someone else to do it, which is an option, but hey – why waste money if you can do it all by yourself?
On that note, we’ve decided that we want to talk to you about a few things you can do to make cleaning your grease trap easier. Sounds good? Okay. Let’s begin then!
1.Don’t Postpone Cleaning
First, and probably the most valuable tip we can give you, is never to delay or postpone cleaning your grease trap. It might not seem like a big deal to you, but there is a reason why a grease trap should be emptied and cleaned when it’s quarter-full.
Allowing the trap to fill up further will do several things, including lowering the trap’s ability to separate the FOGs (fats, oils, and grease) from water, as well as increasing the risk of spills and breakages.
So, whatever you do, don’t ignore your trap’s tank filling up. As soon as you notice it get to 25%, empty it out, and scrub it down.
Now that we’re clear on that – let’s get to the actual cleaning tips.
2.Grab Necessary Tools And Equipment
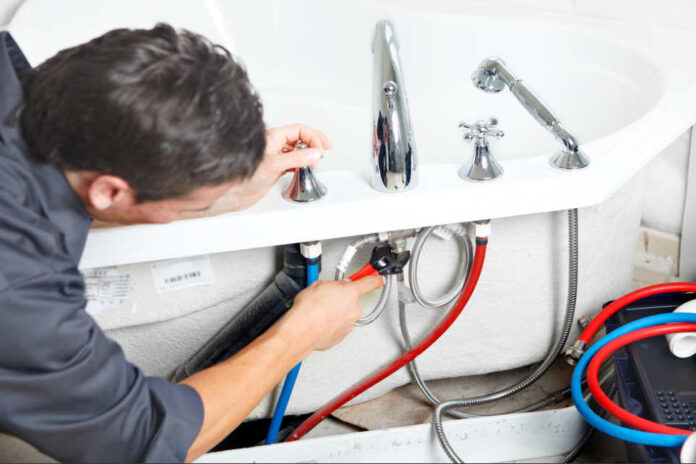
First and foremost, you’ll want to get started by getting your hands on a few essentials that you probably already own.
First of all, you’ll need a scoop of some kind. We’d recommend a catch basin scoop because of the drain holes, but pretty much any other one would suffice. Also, you’ll want to make the scoop comes with a handle, as that’ll make it a lot easier for you to scoop things up.
Next, you’ll need some heavy-duty garbage bags and a trashcan, for obvious reasons.
In addition to these two, you’ll want to make sure you grab a hose with a spray nozzle because some of that grease will be hard to remove.
Finally, you’ll want to get yourself a pair of protective gloves, a facemask, and an expensive suit or a tux. No, we’re joking. Wear something really old, because things are about to get really messy.
3. Always Wear Protective Gear
You won’t need protective goggles or anything, but cleaning a grease trap without protective gloves and a facemask would just be ludicrous.
First of all, to say that that thing’s going to smell horrible would be an understatement. So, in addition to a facemask, you might even want to get yourself some nose plugs.
As for protective gloves, well – you just need them. Not only is all that fat and grease really bad for your skin, but also, there’s always a chance of scratching or cutting yourself while you’re working and trust us, you don’t want any of those contents near an open wound – no matter how small.
So, gear up!
5. Start By Removing The Lid
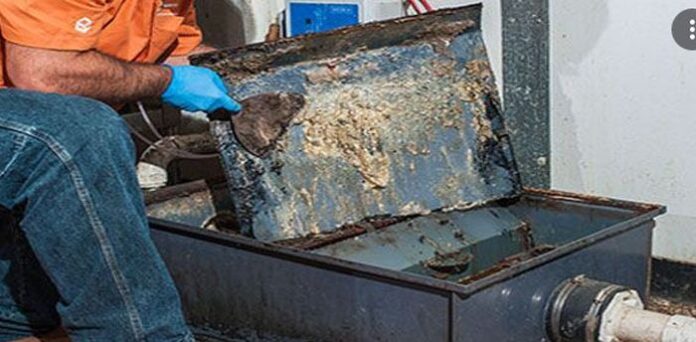
Once you’re all geared up and ready to begin, start by removing the lid. The lid should be easily removed from the top of the trap, although that might not always be the case. However, greasetrapsanjose.com suggests that you don’t shy away from using force if things get tough.
The lid could get stuck, especially if you haven’t been too diligent with your cleaning responsibilities earlier. In that case, just use something as a lever to pry the top off. You can use a screwdriver or a crowbar if needed.
6. Perform A Visual Inspection And Remove Debris
Once you’ve opened up the trap, you’ll want to take a good look inside and see what you’re dealing with.
Just to be clear, we’re not saying you should look for signs of potential trouble. This step is about assessing the situation and making the rest of the cleaning process easier.
Basically, just look if there’s anything in the way, like floating food debris, that you can take out right away. If there is – take it out. If not – move on.
7.Scoop Out The Grease
It’s finally time to get dirty.
First, grab your trashcan and your trash bags and keep them at arm’s length. Next, you’ll want to grab your catch basin scoop and get to scoopin’.
Dip the scoop inside of the trap, but don’t reach for the bottom. Just dunk the scoop beneath the surface of the water and slowly pull it out. The drain holes on the scoop will allow the water to drain back into the trap while the grease remains inside of it. Once you scoop the grease up – dump it into the trashcan.
As you repeat this, the level of water inside of the trap should also lower, leaving you with only wet grease once you reach the bottom.
This shouldn’t take too much of your time – ten to fifteen minutes at most – so don’t shy away from it.
8. Wash The Trap
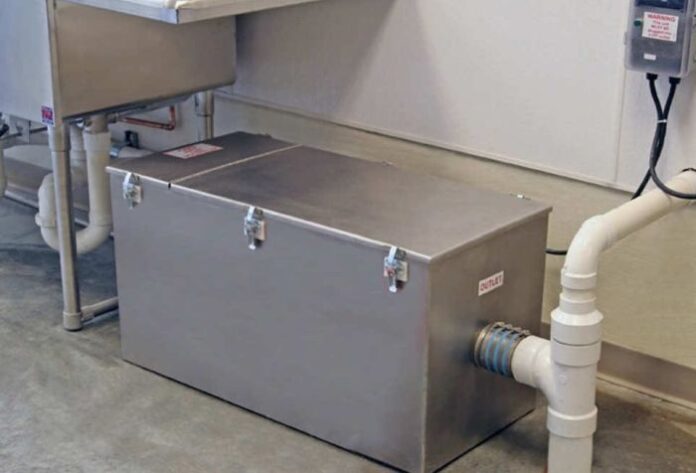
Finally, it’s time for you to properly clean the grease trap.
You will want to start by simply spraying it with a hose. Use a hose with a spray nozzle so you can really get all the grease out with just water pressure alone.
Once you do that, grab a sponge, some hot water, and some dish soap. You’ll want to use hot water because FOGs won’t dissolve in the cold one, and you’ll want to use dish soap for obvious reasons. Give it a good scrub, removing as much grease as you can.
If there are any stubborn build-ups, grab a spray bottle and spray your grease trap with vinegar. This should help dissolve most of the remaining build-up in about ten to fifteen minutes.
When it’s done, just thoroughly rinse the trap out, put the lid back on, and you’re set. You’ve done it!
Conclusion:
Everyone should take care of their grease trap. As you can see, it doesn’t take a lot of effort to clean it. It’s a simple three-step process that you’ll only do three or four times a year.
Hopefully, our tips were enough for you to realize just how easy this whole thing is.


