
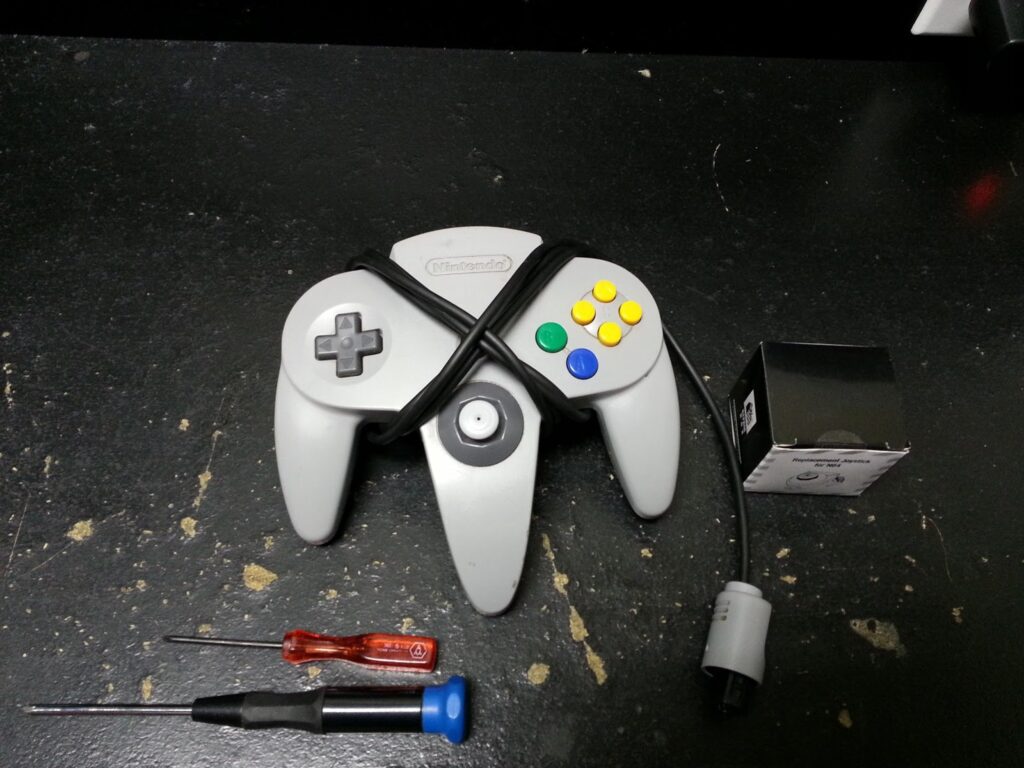
If you are someone who collects games from the past and the future, then you may already have a pretty good idea about what your repair kit will include. Although there are some notable exceptions to this rule, this seems to be the typical setup for most N64 controller repairs. Many people are unaware of just how much trouble they are in when a bad piece of the controller gets ripped off, completely causing it to become useless.
It is a good idea to get a couple of tools with you so that you can easily replace the damaged part if you should need to. The longer that you wait to make a replacement, the more likely it is that you will encounter a major problem as a result of a cheap or defective piece of equipment.
Not all repairs involving a Nintendo N64 Controller are going to require you to change the whole thing. It is often a simple matter of removing individual pins to replace them with new ones. This is going to require you to first disconnect the battery from the system, but it does not require any special skills or special tools.
If you are in need of a simple replacement, it may be wise to ask your repair shop to let you choose the new parts out of the box so that you will not have to return the old ones. By doing this, you can avoid wasting time as well as money by replacing things that are not needed.
You will have a wide variety of choices available to you. Some pieces of equipment will have small silver connectors, while others will have larger, red connectors.
The different types of connectors that come with the N64 Controller are made for the various cords that are attached to it. They are known as red, blue, and yellow connectors. For example, if you have the old controller with its gray, round, and yellow cables, you will be using a red, blue, and yellow cable.
If you were to use the black cables with your Nintendo N64 Controller, it would be a simple matter to upgrade it by using red, blue, and yellow cables. This type of upgrade usually does not require the removal of any pins or any other equipment, which is why it is often the easiest type of repair to perform.
When it comes to picking out a Nintendo N64 Controller repair kit, you will want to be sure that you choose a kit that is going to last. You will also want to make sure that you are making your purchase from a trusted source.
If you are purchasing online, you may want to make sure that you are getting the type of kit that will not warp in a short period of time. If you are trying to find a store that will repair your Nintendo N64 Controller, you will want to make sure that they will deliver the proper parts to you.
When you have narrowed down your choices and you feel comfortable that you have found the right source, it is time to research the different kits that are available. Look over several, to make sure that you have picked out a good one.
The first step in the process of fixing your Nintendo N64 Controller involves figuring out where to buy the kit. Once you have done this, the next step in the process of repairing your controller is learning to properly maintain it.


