It is not necessary for you to spend boatloads of cash to treat yourself to a gorgeous deck around your pool – you can do that with concrete.
A concrete pool deck is quite affordable and easy to maintain, but on top of it all – it’s easy to customize. Just like concrete pools can be made in any imaginable way, concrete decks can be, too.
However, there is a little drawback to this whole affordable, easily customizable concrete deck, and that’s longevity. And, not longevity in a sense where it would completely break over the course of a few years, but in the sense of minor cosmetic damages like cracks and crumbling.
Now, both you and us could turn a blind eye to cosmetic issues, but the thing is, those minor cracks and crumbling are not only inconvenient when you try and walk barefoot by the pool but could also turn to structural damages after some time. So, what do you do?
Well, it’s rather simple, really – you fix them right away.
Today, we’re going to talk to you about fixing the crumbling concrete around a pool, but we’re also going to discuss with you what causes these damages, which are the most common ones, how to prevent them, and more. Let’s get started!
What Causes The Concrete Around The Pool To Crumble?
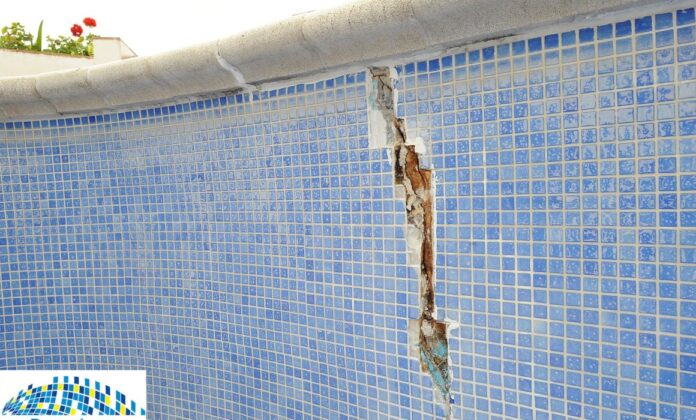
There are several reasons behind damage to your pool deck, starting from structural damage and ground movement, over inadequately placed expansion and control joints, all the way to bad concrete, and drastic changes in temperature causing expansion and contraction, and freezing and thawing.
More often than not, the reason for crumbling lies in temperature changes, bad concrete and misplaced control and expansion joints. Ground movement and structural damage are rarely the cases, but if they are, they require a lot more than just a quick fix or a touch-up.
Control and expansion joints are placed to prevent cracking by actually causing it. Sounds weird, huh? Essentially, you’d place these joints to control and isolate the cracking and crumbling. Cracks usually appear about ten to twelve feet apart, so it’s paramount to place these joints in proper positions so that concrete cracks where it’s meant to, without sacrificing the overall aesthetics and structural integrity of your deck.
Finally, the most common causes are badly mixed concrete and temperature changes. The first one is pretty self-explanatory, but the temperature changes might need some explaining. Namely, concrete, just like any other material, will expand when exposed to high temperatures. In the same way, it will contract when it’s cold outside. These changes can cause cracks, dips, and crumbling if the expansion joints aren’t spaced properly.
As for freezing and thawing in cold weather, it’s not actual concrete that’s undergoing changes – it’s water. Since concrete is porous, water penetrates it, and when the temperature drops below zero, the water freezes and expands, causing micro fractures in concrete, resulting in cracks or other kinds of damage.
How To Fix Crumbling Concrete?
We’ve talked to our friends over at poolresurfacingscottsdale.com, and we asked them – what are the easiest and most common techniques when it comes to fixing a pool? And, here’s what they’ve told us.
Adding A Patch Mix
One of the most common ways to fix the damage around your pool is by using a concrete patch mix. To be fair, this won’t apply to every situation, as won’t any of the other methods we mention, but still, based on problems folks are often experiencing – this is the number one go-to method.
Essentially, if a crack or any other kind of damage is small – these might not be your best option. However, if you are dealing with a bit more prominent crumbling – these things will work like a charm.
The great thing about these is that they can be used on pretty much any kind of concrete, as long as it is in a decent shape. It’ll fill the cracks, fix the damage, and will match the overall texture of the surrounding concrete pretty well. On the other hand, the colour will probably be off, so there’s one thing to keep in mind.
Patch Things Up With Epoxy
Epoxy’s becoming more and more popular these days – from art projects to fixing the concrete decks. Well, minor concrete deck damages, to be precise.
Essentially, pouring a bit of epoxy into a crack that’s less than a quarter-inch wide should get the job done rather efficiently. However, it won’t be too quick, as epoxy’s notorious for its curing time. To be fair, there won’t be too much of it, so it will cure a bit faster, but still – don’t expect it to be over soon.
Use Polymer Fillers
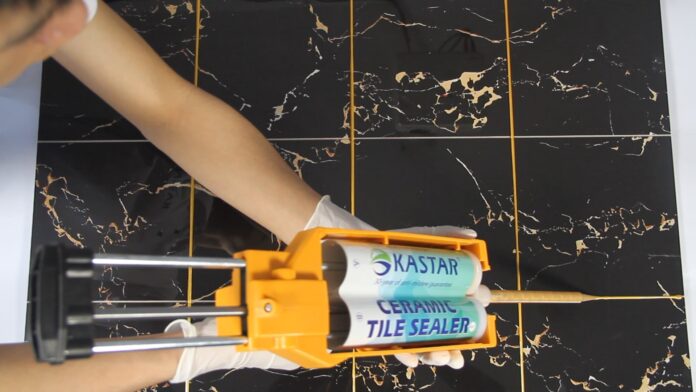
Polymer fillers are quite similar to epoxy fillers, although there are some differences between the two. Even though both of them are resin-based, polymer cures quicker. However, it is not as strong as epoxy, so that’s a trade-off you’ll have to consider.
Treat Your Deck To Some Vinyl
Vinyl is another solution for smaller hairline fractures that might occur around your pool. However, unlike the previous options – vinyl can work great for wider cracks, too.
Vinyl, just like epoxy and polymer fillers, is incredibly easy to apply, and you can easily DIY it, although if you are not completely certain what to do – we’d suggest calling a pro.
Mortar
For bigger, more obvious crumbling – you can use mortar. Mortar is not a common solution for a problem like this, but maybe it should be because it’s a really viable solution. Mortar is durable, long-lasting, and easily mixed and applied. It will seal all the cracks and prevent future damage.
Cement
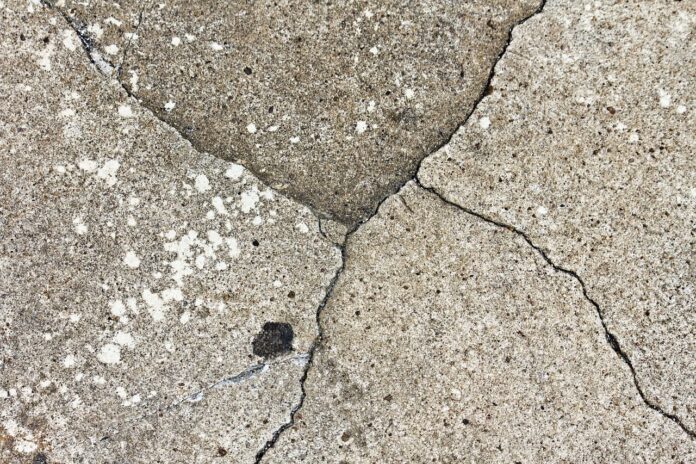
Finally, you can treat concrete with concrete. Well, not concrete, per se, but cement or grout.
This method is great for more obvious damages, as it can easily fill up any gap, crack, or hole in your deck and instantly improve its looks.
On the other hand, cement or grout won’t quite bond with concrete, so if you’re dealing with structural damages – this might not be the best option.
Conclusion – How To Prevent These Damages?
We taught you how you could fix these damages, and we’ve told you what causes them. Now, all that is left to say is how you can prevent them.
First, you’ll want to do a good job in the beginning. Use properly mixed concrete, space out the joints correctly, and leave enough time for the concrete to dry.
Once you do that, all that is left to do is maintain it regularly, and you should be good.
Hopefully, you’ve found this helpful.


